How to Apply Roofing Tar Around Chimney?

Introduction to Applying Roofing Tar
Welcome to Glass Works Of Texas' comprehensive guide on how to apply roofing tar around your chimney. Properly maintaining your chimney is essential to prevent water leaks and potential damage to your home. By following our step-by-step instructions, you'll learn how to effectively apply roofing tar and ensure a water-tight seal for years to come.
Why Apply Roofing Tar?
Roofing tar, also known as asphalt roof cement, serves as a protective barrier to prevent water from seeping into the vulnerable areas around your chimney. Over time, weather conditions and normal wear and tear can cause the existing sealant to degrade, leading to water leaks and potential water damage.
What You'll Need
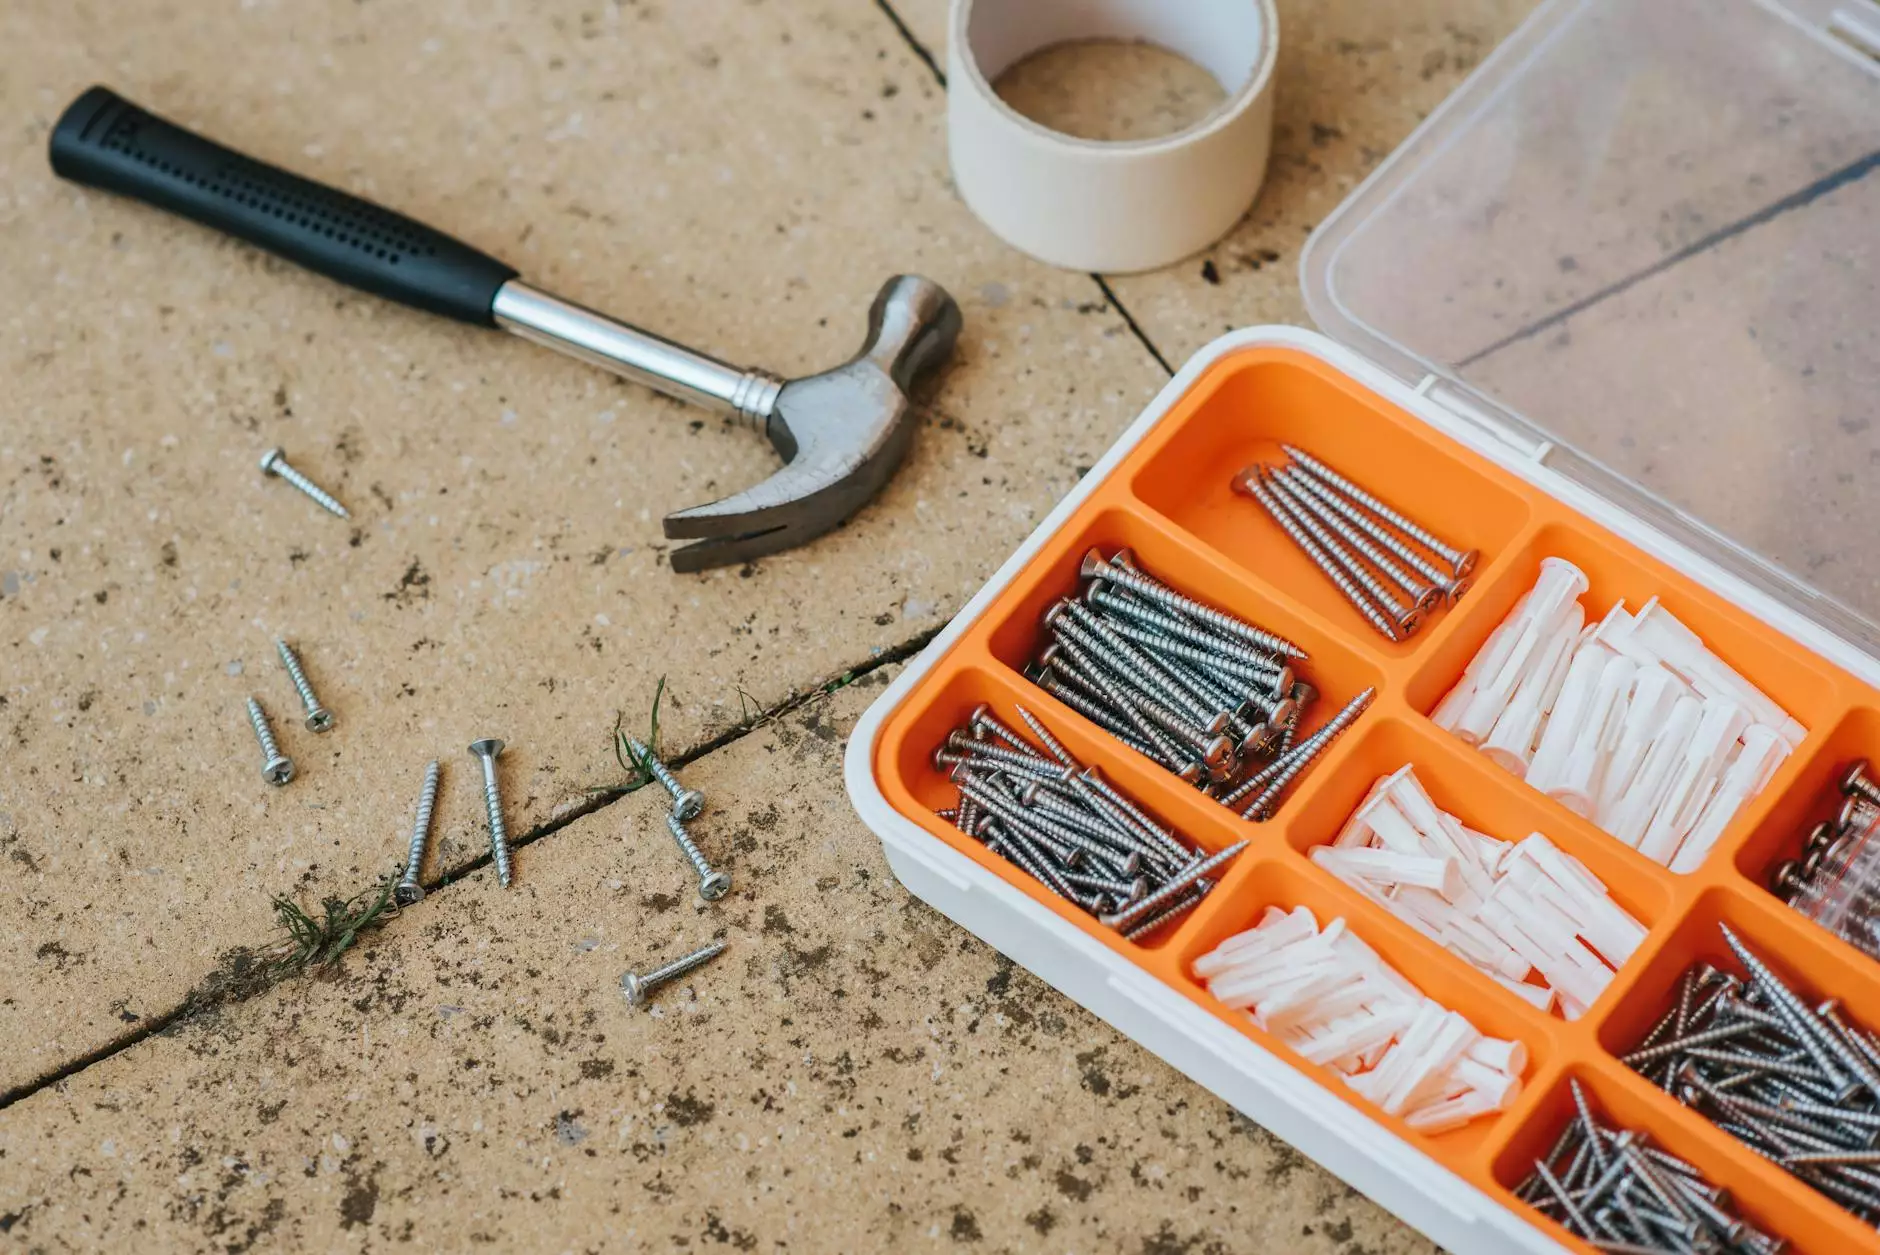
- Roofing tar/asphalt roof cement
- Tar brush or trowel
- Roofing nails
- Roofing screws
- Chimney flashing
- Caulk gun
- Protective gloves
- Protective eyewear
- Ladder or scaffolding (if necessary)
Step-by-Step Guide – How to Apply Roofing Tar Around Chimney
Step 1: Prepare the Chimney
Before starting the application process, ensure that the chimney is clean and free from any debris. Use a stiff brush to remove loose materials and make sure the surface is dry.
Step 2: Inspect the Existing Sealant
Carefully examine the existing sealant around the chimney. Look for any signs of cracked or missing sealant, as these areas will need to be repaired before applying the new roofing tar.
Step 3: Repair Damaged Areas
If you identify any damaged areas, such as cracks or gaps, use a caulk gun to fill them with roofing caulk. Allow the caulk to dry completely before proceeding to the next step.
Step 4: Secure the Chimney Flashing
Ensure that the chimney flashing is securely attached to the chimney and the roof. If there are any loose nails, replace them with roofing screws to provide a more secure hold.
Step 5: Apply the Roofing Tar
Using a tar brush or trowel, apply roofing tar generously around the base of the chimney, focusing on the areas where it meets the roof. Make sure to create a smooth and consistent layer of tar.
Step 6: Seal the Edges
To further reinforce the water-tight seal, apply a thin layer of roofing tar along the edges of the chimney flashing. This will help to prevent any water from seeping underneath the flashing and causing leaks.
Step 7: Final Inspection
Once you've completed the application process, inspect the chimney and surrounding areas to ensure that the roofing tar is evenly applied and there are no visible gaps or inconsistencies.
Conclusion
By following these steps, you can effectively apply roofing tar around your chimney and provide a durable and water-tight seal. However, if you're unsure about performing this task yourself or require professional assistance, it's always a good idea to reach out to a reputable roofing contractor like Glass Works Of Texas. Our experienced team can provide expert guidance and ensure that the job is done correctly.
Remember, maintaining your chimney is crucial in protecting your home from water damage and potential structural issues. Regular inspections and necessary repairs, such as applying roofing tar, will help extend the lifespan of your chimney and ensure its optimal performance.